

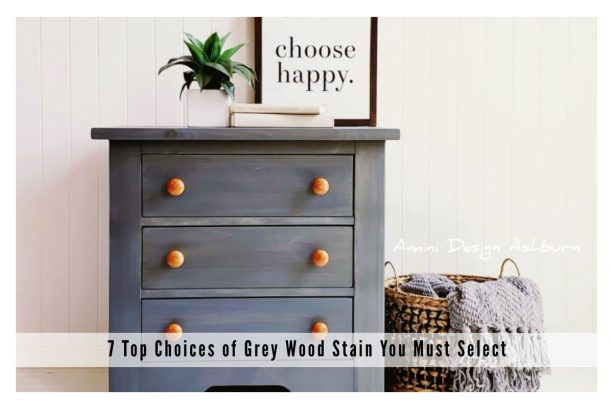
Grey wood stain is a recently popular alternative to create beautiful woodworks that match any interior style. The best thing of all, the tone is quite neutral, so it applies to any types of wood project.
The wood stain itself is a finish type you can apply on wood to make its appearance different from the original or in simpler words to change the wood color. With the same product, you can also give the extra material protection from certain types of damages, and you can enhance the wood grain to create a more stunning look too.
You can use the stain on the finishing process of your wood project. Usually, the colors available for this product have limitation in the ones that have a resemblance to wood tones in nature, such as pecan, oak, and walnut. However, some other options, including grey, are now available too.
The same stain will result in a different appearance on a different wood type. To get the look that you want, you may need to do the staining process for several rounds. In some cases, you might need to sand too.
A thing that people find to be quite problematic is that right now there are so many choices of grey wood stain products available at both home improvement stores or online marketplaces. If you are in the process of creating some wood projects and you want grey to be the finish, you might face the same problem.
Worry no more, my friend since among so many products you can find right now. Some are proven to stand on the top positions in the chart. The proof is the fact that many professional woodworkers, home builders, decorators, and interior designers use these products a lot in their projects.
To make it easier for you to make a choice, we list 7 of the top picks of grey wood stain in the following. Each product recommendation will come with complete information, so hopefully, when you finish reading this post, you will know which option you want to use in your very own wood projects.
- Minwax Wood Finish Penetrating Stain Classic Gray Stain 271
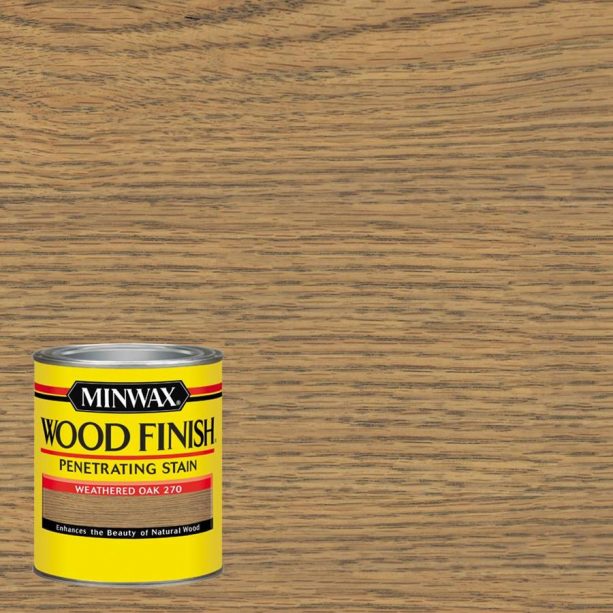
- Minwax Wood Finish Penetrating Stain Weathered Oak 270
- Rust-Oleum Varathane Premium Fast Dry Wood Stain Weathered Gray
- Rust-Oleum Varathane Premium Fast Dry Wood Stain Carbon Gray
- Rust-Oleum Varathane Weathered Wood Accelerator
- Rust-Oleum Ultimate Wood Stain Sunbleached
- General Finishes Gray Gel Stain
1. Minwax Wood Finish Penetrating Stain Classic Gray Stain 271
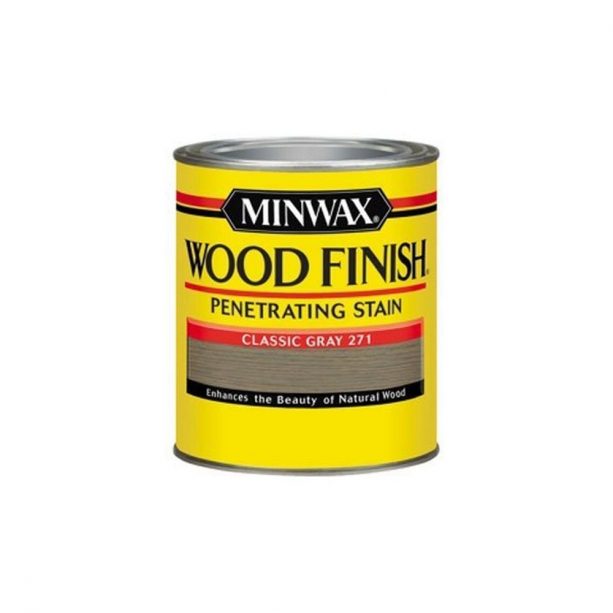
Where to Buy: Amazon or Lowe’s
Material: Oil-based
Coverage: 125 up to 150 square feet per quart
Dry Time: 8 hours
If you want a choice that will give you a subtle grey finish, this is the one. You might need to apply the coat twice or more if you’re going to get a darker result. Remember, you must do the recoating process after 4 up to 6 hours after you apply the first coat.
This stain is an oil-based product that is easy to apply and is suitable to use on a stripped or bare wood surface. To apply you need to use a coat or foam applicator or a natural bristle brush.
This product is suitable to use on cabinets, doors, hardwood floors, molding, trims, unfinished wood furniture, and woodworks. The result will be better if you use it for interior location only.
Another benefit that comes from this product is that it can enhance the natural grain of the wood. Something like this will create a unique value to your wood project.
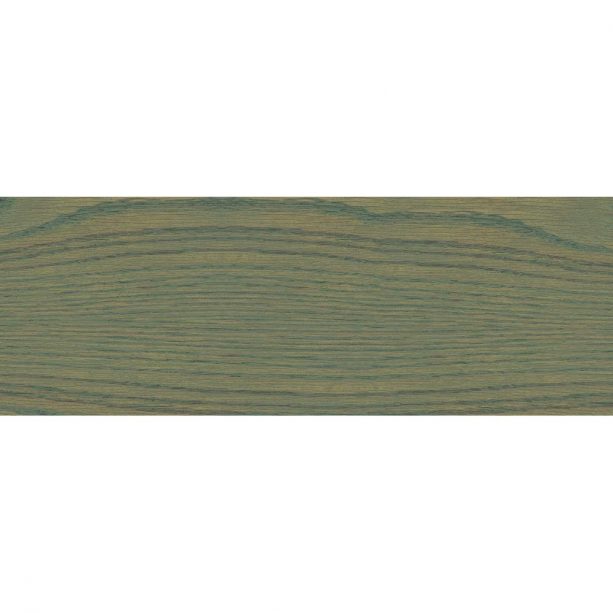
If you are curious about how this stain will look at different woodworks, here are some pictures that you can use as sources of inspiration.
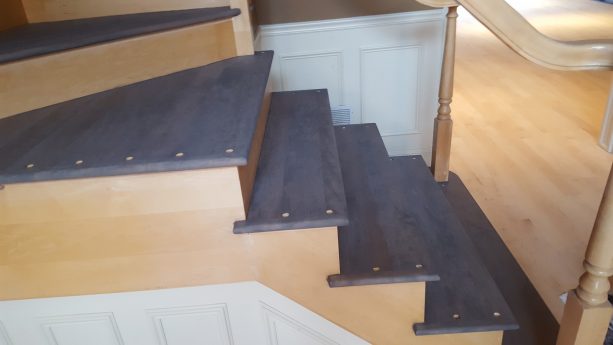
The first example is the use of Minwax Classic Gray on maple. As you can see here, the designer does not use the stain on the whole part of the staircase but only on the treads.
A simple action like this is enough to create a distinctive look on the staircase design. As you can see, with the stain the treads gain a quite subtle greyish tone. However, from the result, it looks like the design applies more than just a coat of Classic Gray.
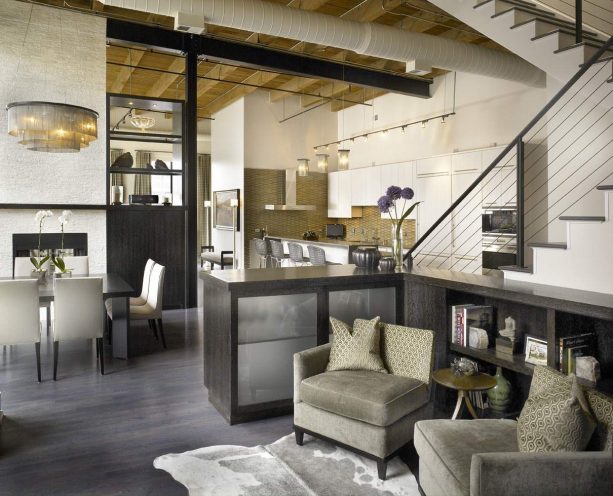
This next example is the use of the same Minwax wood stain on the white oak floor in an industrial living room interior as you can see in the picture above.
One thing that you will find interesting here is that the designer does not use only one wood stain on the floor. Instead, they mix the Classic Gray with another choice from the same category, which is Minwax Finish Penetrating Stain Ebony 2718.
From it, we know that sometimes to get the desired color on woodwork, we still need to mix a stain with another. In this project, although the stain is a mix, you can even see that it has the greyish result.
As told earlier, this wood stain product is excellent to use in the interior. The good news is that it works on any woodwork you can find inside your house.
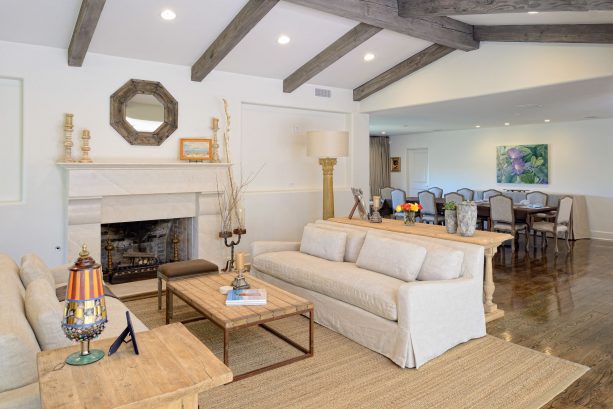
The example you can see in the picture above is the exposed wood beams. The subtle grey tone makes this ceiling detail suitable more to the calm and cozy traditional style applied to the living room.
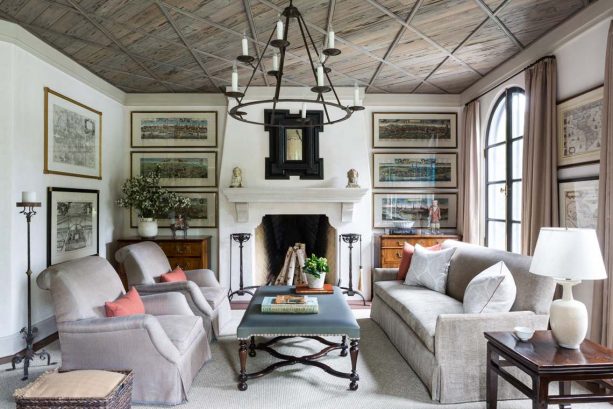
This wood stain is not only suitable for adding a greyish tone to the beams. You can also use it to add color on the ceiling as done in the picture above if you want to.
In this example, the ceiling type is cypress-paneled wood. It comes with criss-cross trims that make it even more attractive for the Mediterranean interior.
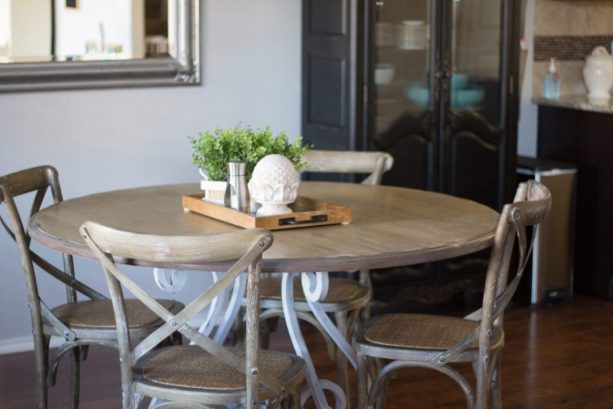
Of course, this grey stain is a product that you can use on wooden furniture too, as you can see in this dining table set. Here, the designer makes a combination of Minwax Classic Gray and Weathered Oak to refinish the furniture.
It proves that a simple makeover can change the whole look of old furniture pieces to be more beautiful than before.
2. Minwax Wood Finish Penetrating Stain Weathered Oak 270
Where to Buy: Amazon or Lowe’s
Material: Oil-based
Coverage: 125 up to 150 square feet per quart
Dry Time: 8 hours
This color is another option that also comes from Minwax® Wood Finish™. Compared to the previous one, it seems to have a stronger brown undertone, so it is suitable to pick to obtain a warmer visual effect. That is why you possibly need more than just a coat to be able to see the grey look.
Just like the product we recommend to you earlier, this one also needs time between 4 up to 6 hours before you can apply another coat on the first one.
Here are some pictures that will inspire you to use this wood stain on your next wood project.
As told earlier, you will need several coats of this wood stain to gain the stronger grey look. It may be the reason why the oak floor in the picture above does not seem gray.
Although so, it is still an excellent choice to enhance the beauty of any wood floor.
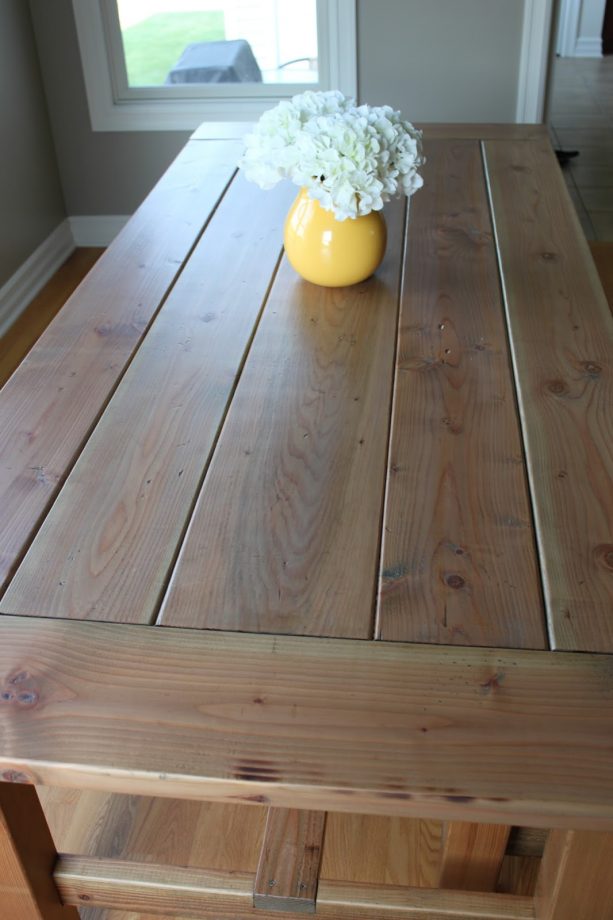
Here is another example of woodwork that gets Weathered Oak as the finish. For you to know, this farmhouse table gets 4 coats of the wood stain to obtain this look, and as you can see, the brown undertone makes this Minwax product to blend with the natural color of the wood species nicely.

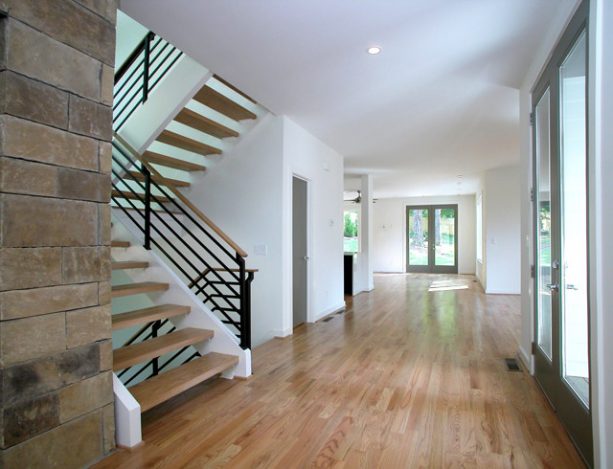
This wood stain is also a suitable choice to use on a staircase design. So, instead of coloring the whole parts of the stair by using a single color, it would be great if you use at least two-tone style as shown in the pic.
As you can see here the handrail, newel, and treads of the staircase gain the grey-stained appearance while the balusters are white. You can see the greyish tone here better. It is because the owner does not only use Weathered Oak but mixing it also with Classic Gray.
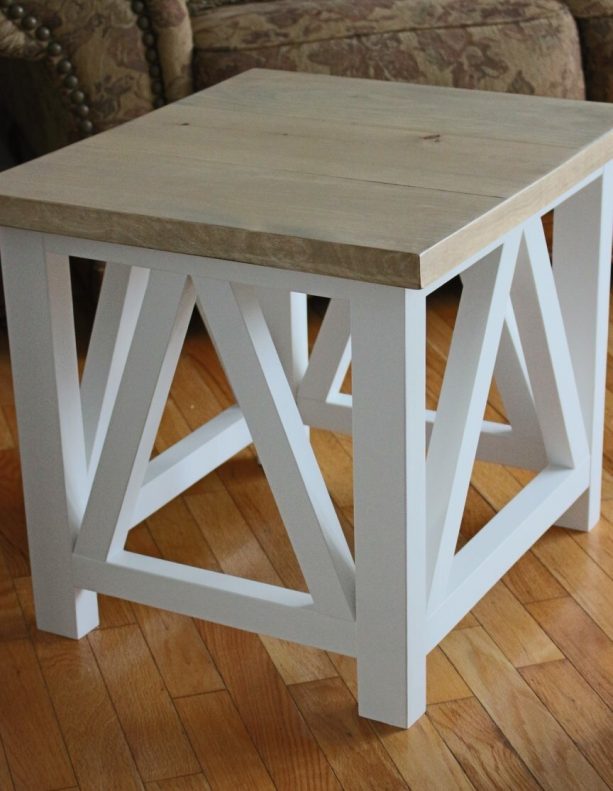
Just like the previous example, in this one, the wood project also has a combination of grey-stained and white colors. The difference is that the item here is an end table.
Several coats of Weathered Oak can result in a look like this.
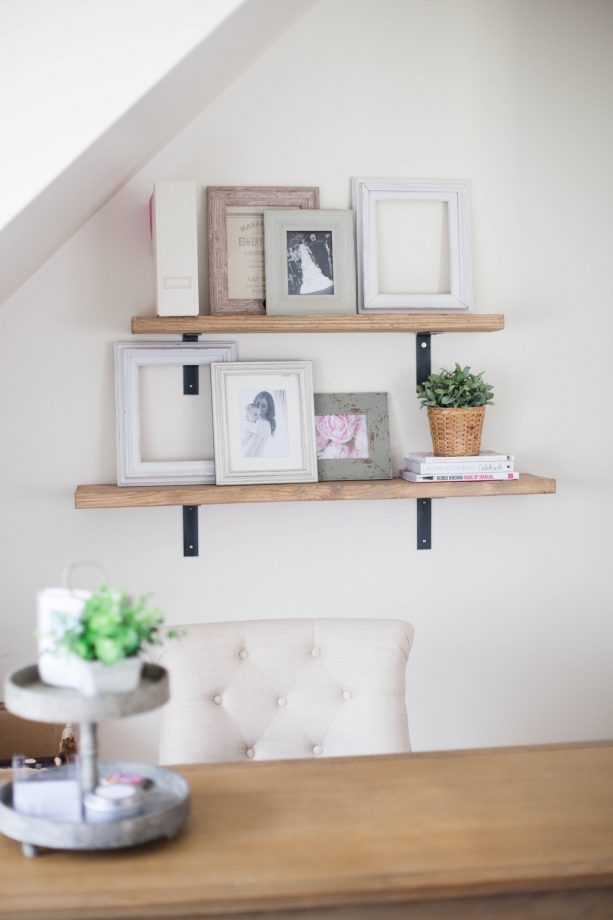
This Weathered Oak wood stain is also a suitable choice to use on a DIY project, including the simple one like this rustic shelving. The easy way to use it makes it simpler for anyone, including you to do the project.
3. Rust-Oleum Varathane Premium Fast Dry Wood Stain Weathered Gray
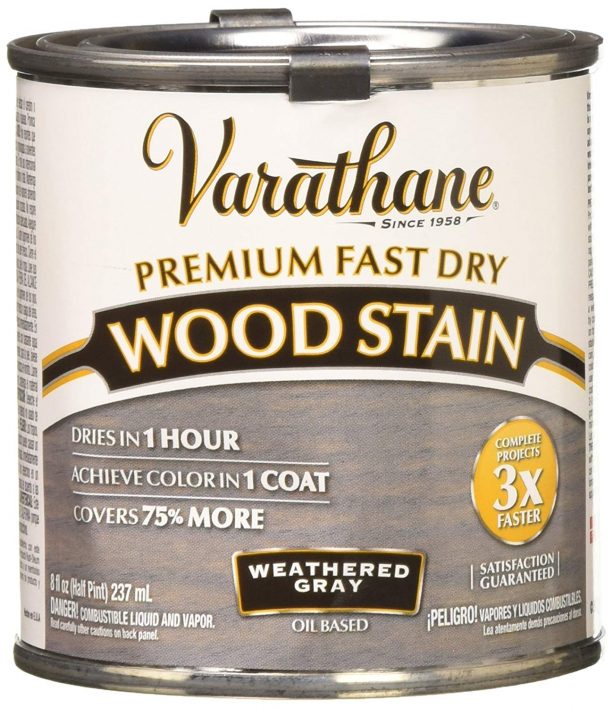
Where to Buy: Amazon or Home Depot
Material: Oil-based
Coverage: 275 square feet per quart
Dry Time: 1 hour
For you who are looking for the wood stain that will give a true grey result, this member of Verathane Fast Dry is the right choice. It has a very least brown undertone that is almost invisible. However, you need to know that it has a slight blue tone to it, but it is not the obvious one.
Just like the name, this product has a very quick dry technology. It only needs an hour to be dry and ready to touch.
Another excellence is that you only need a single coat to get the target grey look. A benefit like this can surely make it faster for you to finish your project.
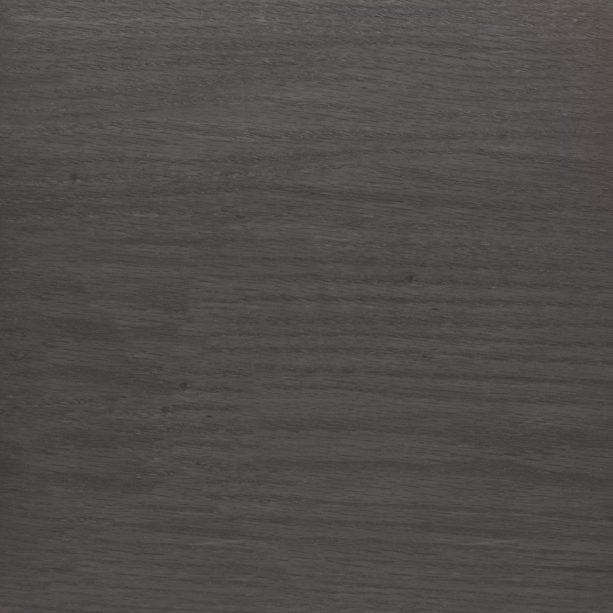
Still related to the look, this stain is also an excellent choice that can highlight the wood grain. Therefore, although you will get a true grey result, you do not need to worry that your wooden item will lose its natural look.
The coverage of this stain product is also quite exceptional since it reaches approximately 275 square feet per quart or 32 oz. It means, there is a good chance for you to save money when you choose this wood stain instead of other similar products.
This product is suitable to use on various woodworks, including floor, furniture, interior trims, and many others. For better durability and protection, the manufacturer suggests us to top the coat with Varathane® Polyurethane.
If you need an example of how this wood stain product looks like after being used, you can take a look at the following picture.
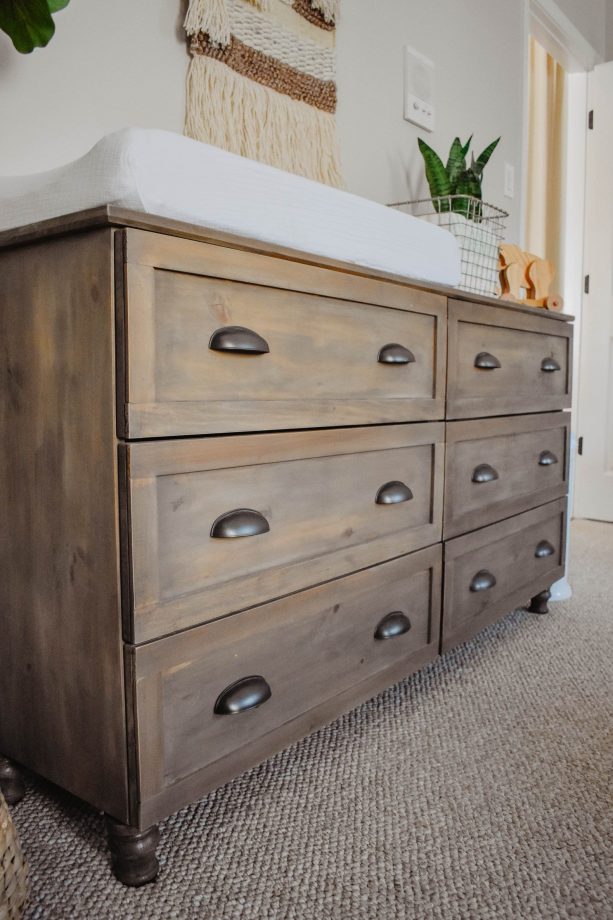
This picture is a changing table that gets this Fast Dry Weathered Gray by Rust-Oleum as the finish. The owner buys a raw wood dresser and then decides to give it an old and weathered look by using the wood stain.
As you can see in the pic, the result is just fantastic. It proves that you do not have to wait for years to get the weathered look on your favorite furniture piece.
4. Rust-Oleum Varathane Premium Fast Dry Wood Stain Carbon Gray
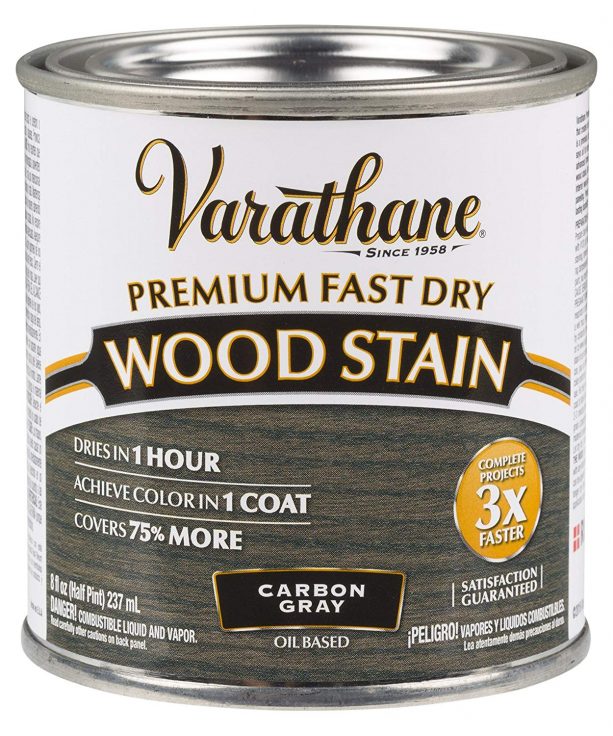
Where to Buy: Amazon or Home Depot
Material: Oil-based
Coverage: 275 square feet per quart
Dry Time: 1 hour
This product is also a member of Varathane Fast Dry Wood Stain family. Of course, the shade is different from the one that we talked about earlier.
If you compare it with the previous product, you can see that it does not have a true grey tone. Instead, it seems to belong more to the ebony shade.
Some even see that the shade has a quite high resemblance to dark walnut tone. It also has smoky grey as the undertone.
Another best thing you can find from the Premium Fast Dry Wood Stain is that you do not need any wood conditioner to use it. Besides, if there are some pores on the surface where you want to apply the stain, it can seal them excellently.
You can apply this wood stain with a brush or lint-free cloth. As told earlier, a better and more durable result is obtainable if you apply top coat on the project. To do so, you need to wait for at least an hour after you use the stain on your wood project.
Here are some examples of how this gray stain looks like on wood.
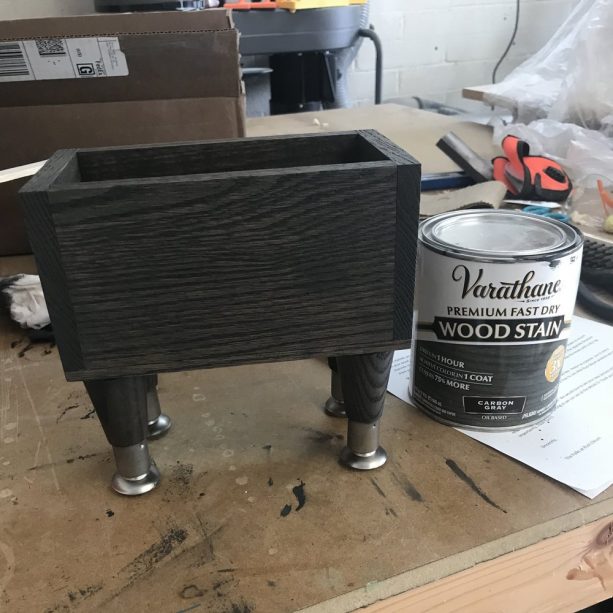
As told earlier, this gray wood stain is slightly different because it is similar more to ebony-like look. This fabulous wooden planter is the example.
This item is from raw wood. Then when it gets color from the Carbon Gray wood stain, it looks as shown in the pic above.
The result is impressive not only because of the darker appearance. It is also about the fact that the grains are still clearly visible.
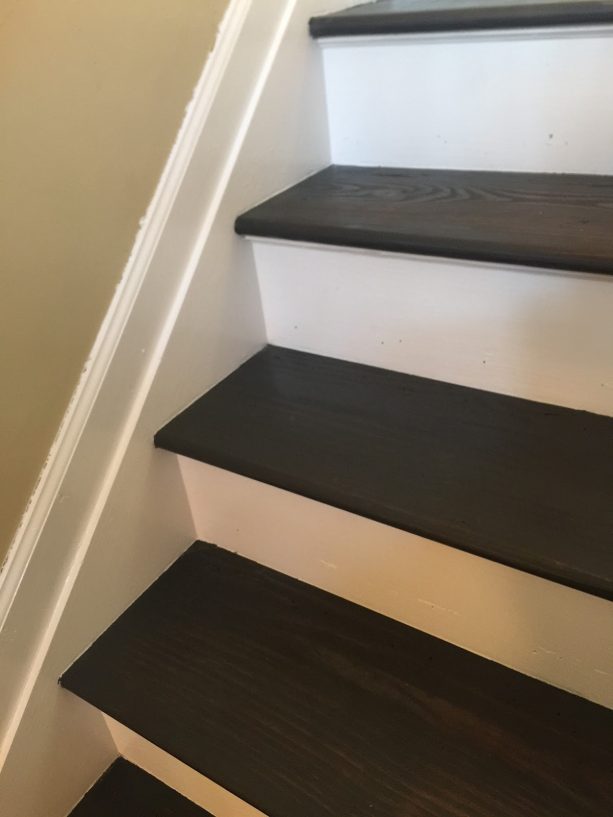
The dark tone of the Carbon Gray can also make a stunning contrasting look when paired with white. An example of this is available in the staircase design above.
5. Rust-Oleum Varathane Weathered Wood Accelerator
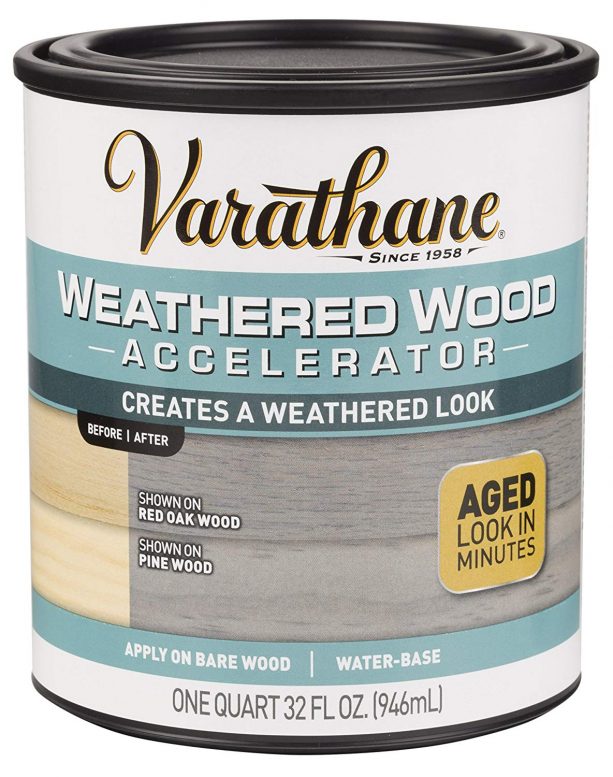
Where to Buy: Amazon or Home Depot
Material: water-based
Coverage: 275 square feet per quart
Dry Time: 1 hour
If the previous options from Rust-Oleum come with oil-based material, this one is water-based. It is none other but Varathane Weathered Wood Accelerator.
It is an excellent choice to pick if you love the look of reclaimed woods. The reason is that once applied it will create an aged gray look.
The best thing about the look is that it looks very similar to the look of a natural reclaimed look. The difference is that you can get the style in speedy time by using this stain.
This product is suitable to use on untreated and bare wood on any type. However, the final result might be different from one to another.
Check out the following pictures for inspirations.
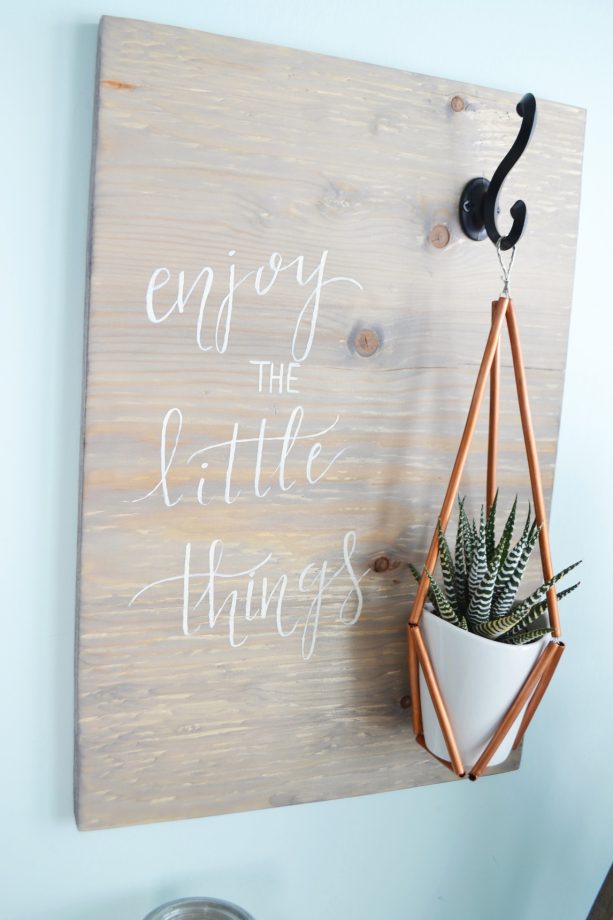
The Wood Accelerator is a quite popular choice among DIYers because of the stunning work of creating a weathered look quickly. It is not only suitable for creating big woodworks like furniture but also the small ones like decorations.
The custom sign in the picture is the example. Look how the Wood Accelerator makes this item looks so pretty and chic at the same time.

Do you make a DIY project with wood and you think that it looks too simple? If yes, you can try to use the grey stain to make it seems distinctly nice. Take a look at the custom shelf in the picture for example.
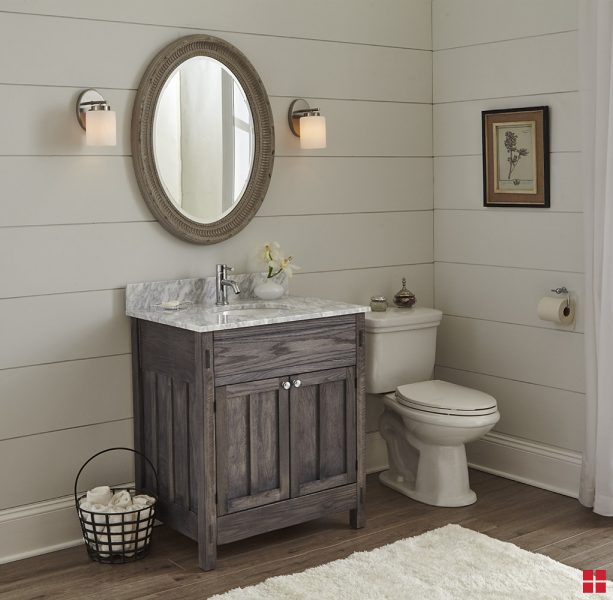
Do you want to give a new look to your bathroom design? Then stain your vanity sink by using this product, and you will see how impressive the result is.
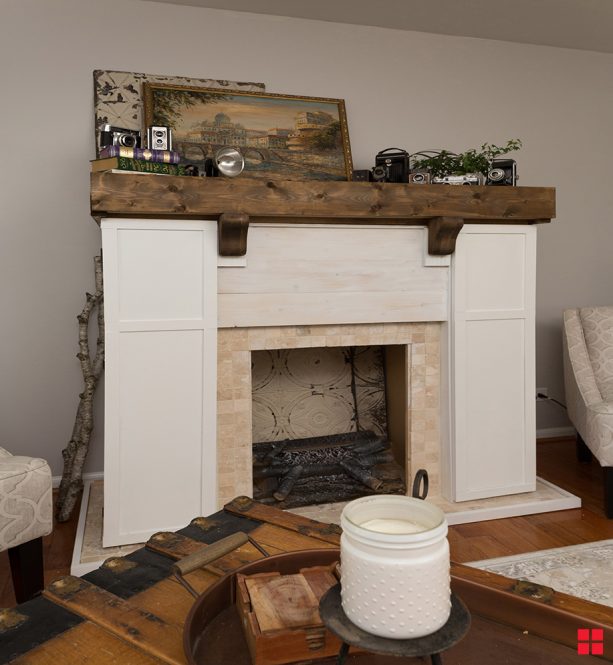
The wood stain can give a weathered look not only in light-toned wood material. You need to know that it works excellent on a darker one, as the fireplace mantel above.
6. Rust-Oleum Ultimate Wood Stain Sunbleached
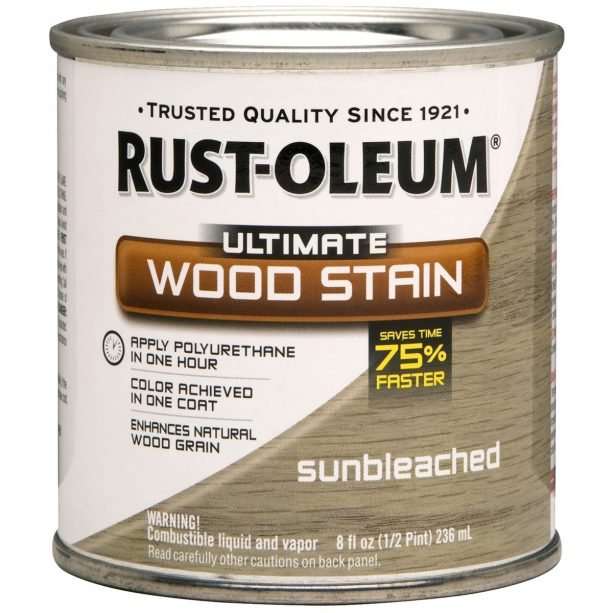
Where to Buy: Amazon
Material: Oil-based
Coverage: 275 square feet per quart
Dry Time: 1 hour
Here is another choice you can take into consideration from the Rust-Oleum. At a glance, this product does not seem to be the one that will give the grey stain on your wooden items.
It will. The type of grey tone it creates is quite light and very creamy.
The similarity found between this product and the other two that belongs to the Fast Dry category is that they all dry quickly. The dry time is only 1 hour, and the surface you paint will be ready to touch.
Just like the name, the grey stain will give wood a sun-bleached look even if it is a brand new material. On a lighter wood, it will look like the bedside table in the picture.

On a darker wood, it will look like this DIY table that the owner builds especially for a wedding occasion.
If you want to experiment, you can try to mix this wood stain with another one to create a new color. In this example, the combination is between Sunbleached and White Wood Grain Enhancer from Varathane.
The color combination gives a white-washed effect that still has the gray touch in it. Besides, the Sunbleached wood stain helps to get the textured look on the final result.
7. General Finishes Gray Gel Stain
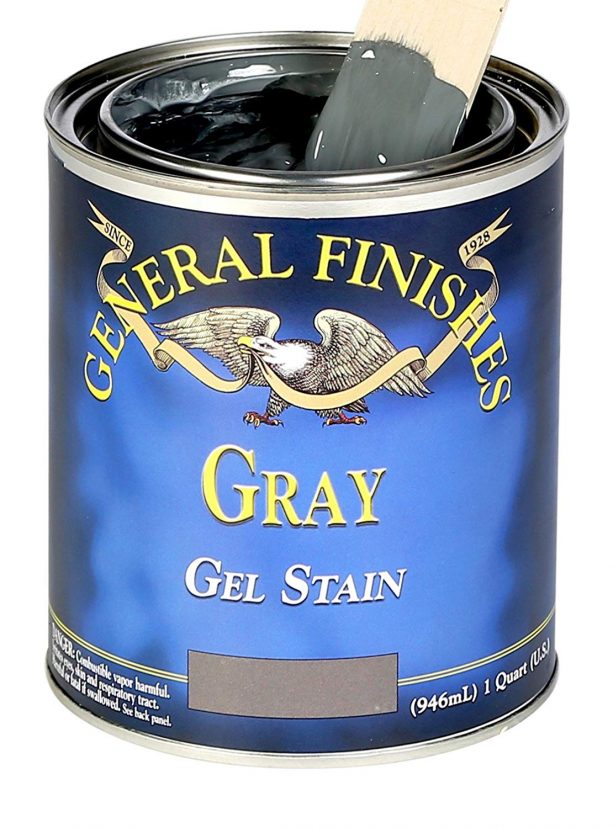
Where to Buy: Amazon
Material: Oil-based
Coverage: 150 up to 200 square feet per quart
Dry Time: 8 up to 72 hours depending on the wood surface
This gray shade from General Finishes Oil-Based Gel Stain has high pigment. That is why to obtain the target color you only need to apply a single coat.
This one is not a true gray shade because it has a subtle blue undertone on the final result. Although so, on a test done to different wood species it shows a somewhat consistent result.
You can apply this stain by using a lint-free cloth or a foam brush. The best thing is that you will get the hand-rubbed effect as a result quite quickly.
This product has a heavy bodied gel. It is a good thing because it allows the stain to flow evenly without any runs or drips. It is possibly the reason why this product has excellent color consistency, even on different wood types.
Take a look at the following examples to know how this wood stain can make an entirely different look like the ones mentioned previously.
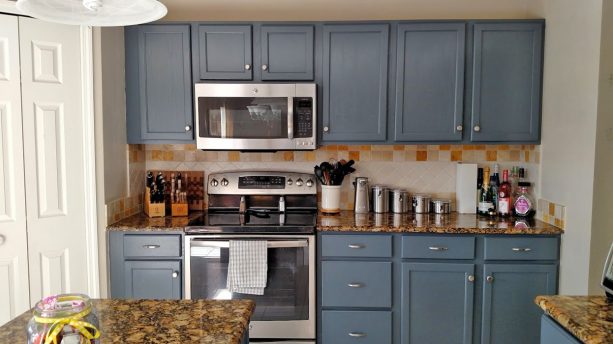
The grey look on these kitchen cabinets looks quite bold, right? It may be the reason why this wood stain is a perfect choice not only for freshly-made wooden items but also for a makeover or remodeling project.
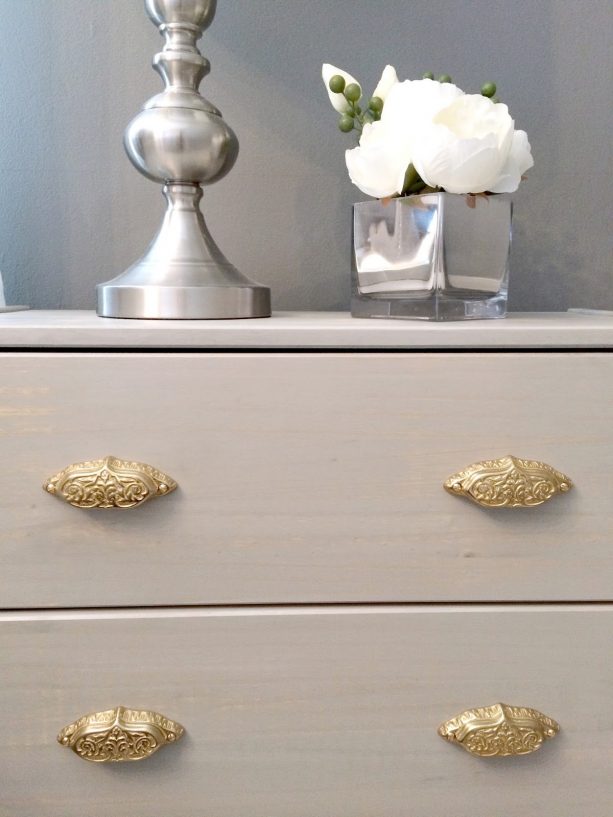
However, you can use a different method in using this wood stain so that the final look will not be too bold. The example is available in the weathered look you can see in this side table.
So, those are all the detailed information we can give to you about the 7 of the top choices of grey wood stain. If by any chance you are entirely new to wood staining, there are several tips we can give to you.
- Before you start the staining process, you should sand your wood project by using sandpaper. The one with fine grit is the right choice. This process is essential because it will later make the wood surface easier in soaking up the stain.
- Do not forget to protect your floor by using a dropcloth that has a plastic layer on it since it can avoid some messy stains at the end of the process.
- Follow the manufacturer suggestion about the choice or cloth or brush you can use in the staining process. This action will help you to get the best final result.
- Follow the manufacturer suggestion about the length of time to do the recoating after you layer the first coat of the stain. This action is also the one that will give you the best look.
Happy wood staining!