
Painting fireplace tile is a very simple but effective remodel idea you can do to get a new look on your fireplace, no matter whether it is the one located in living room, dining room, or any other room in your house.
This idea is so simple to do that you can do it only by following 3 simplest steps.
Those steps include; cleaning the fireplace tile, taping around the tile, and painting the tile.
Each of those steps will be explained for you below but first, there is extra information about the color you should choose to paint the fireplace tile, so later it will get a fresh and new color.
Later in this post, you will also find some practical tips you can follow when you want to paint the tile by using chalk paint. So let’s get started.
What Color Should You Choose to Paint Fireplace Tile?
When it comes to the color to choose to paint fireplace tile, actually any color can be used in this case.
This fact, of course, gives you freedom in painting the tile because it is possible for you to choose the color you love the most.
However, is it ok to choose the paint color only because you love it more than any other colors?
Of course, it is not!
There are several things you need to be sure of before deciding a color to choose for the paint.
The first one is the compatibility between the new paint color and the color scheme in your interior.
This first considerable thing is, as a matter of fact, the one that will help you effectively when you do not know at all about which color to pick.
By choosing a compatible paint color for the fireplace tile, you do not need to worry that later the remodeled fireplace will look ugly.
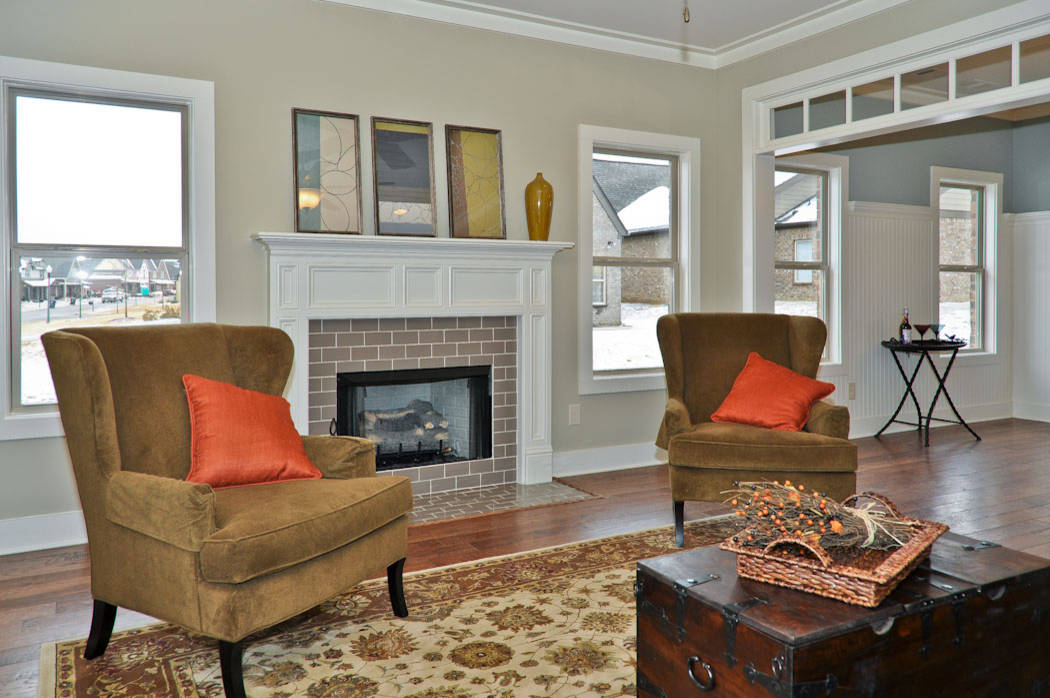
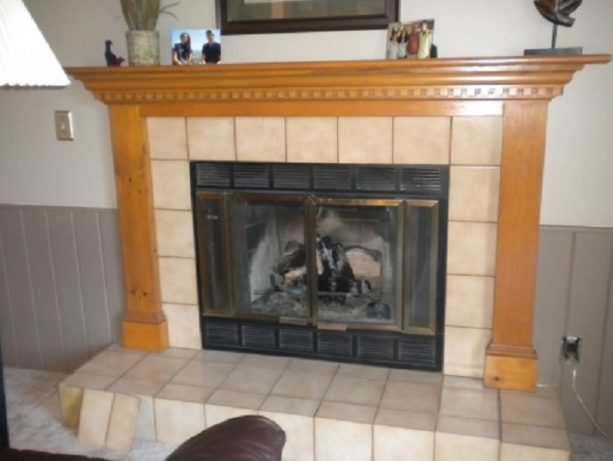
As an example, you can check out the picture below.
The tile of this fireplace, including also the one located on the floor, is temporarily painted in white by the homeowner because he/she doesn’t know what to do to it yet.
The main point that we try to see here is not about whether or not the painted tile is something temporary or permanent. It is more about the inspiration lies inside it.
As shown in the picture, the white paint applied to the fireplace tile is compatible with the white color of the mantel, trim, and even the door.
This harmonious color is something that will make the newly-painted tile to fit in the interior design easily without ruining the already-used color scheme.
The second one is the effect that the new paint color will give to the interior.
Sometimes, you should not always find a new tile color that is the same with a specific color that is already available in the interior color theme.
You can choose an entirely different color as long as it gives an acceptable positive visual effect to the interior.
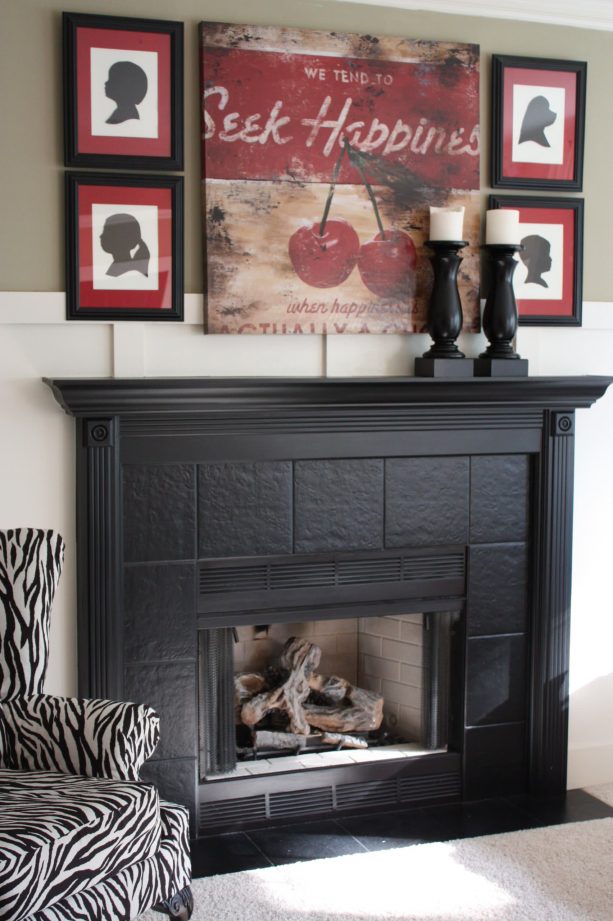
As an example, you can take a look at the before-and-after picture below in which the homeowner remodeled the ivory fireplace surround by using black color.
Other than this, you can also see that remodeling is done to the fireplace mantel by using white color.
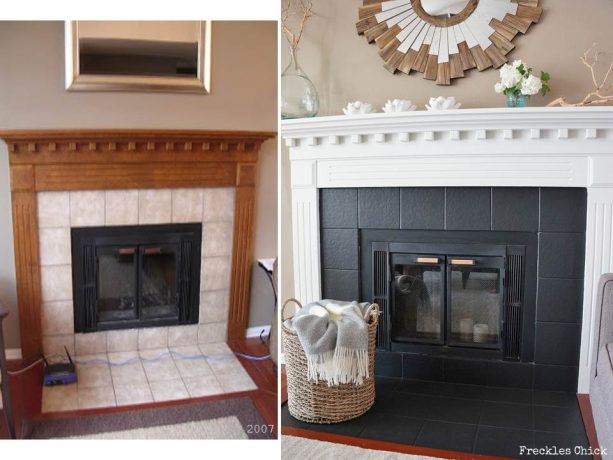
The new black color of the fireplace is possibly not a compatible color for the interior. Moreover, it is a contrast to the brown color of the wall as well as the reddish color of the wood floor.
Although so, it doesn’t mean that the new black tile looks black. It contributes something elegant to the interior mainly because the brand new white mantel is the pairing. It is none other but a more modern look.
There is still one last but not least thing that you need to be assured.
The paint you choose must have the ability to adhere to the tile surface firmly or else it will peel quickly so you will need to do another remodeling shortly.
This will cost you more energy, money, and time, right?
To avoid that, you can perform a test first before applying a paint color on your choice to the fireplace tile. The way is by brushing the paint to a tiny part of the fireplace.
Here, you can choose an area that is not prominently visible.
After that, you just let the paint nicely dry.
Lastly, you just need to check the result so you can finally conclude whether the paint can adhere to the tile surface correctly or not.
To complete the talk about the color you should choose for the fireplace tile painting projects, here are some pictures for you to get inspirations.
The first inspiration comes from the before and after pictures below. After the remodeling, the fireplace tile receives a fresh chiffon white color. It is also interesting that the designer repaints the fireplace mantel here too.

Next inspiration is available below. This one is interesting because the tile has the same black color with the mantel.
This one below is also interesting. It is not only because the designer paints the subway tile in gray but also because it has a white glaze.

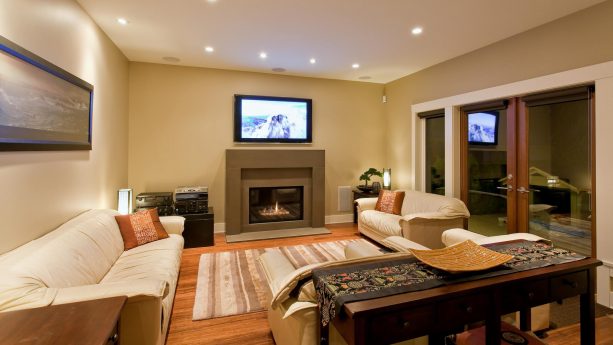
Another inspiration is visible in this design with darker greige fireplace tile included.
How to Paint Fireplace Tile in 3 Simplest Steps
As told in the opening, there are only 3 simplest steps to do to your fireplace tile to change its look. All those steps will be explained here one by one so check them out carefully.
1. Cleaning the Tile
The first step is the ‘cleaning the tile’ step. If this is your first project, it is reasonable that you think it is ok to paint fireplace tile without cleaning it first.
Many people do think the same way. This way of thinking makes them skip this first step and jump directly to the second step. The fact they may not know is this step is crucial, and they must not just skip it.
Maybe your fireplace tile looks clean since primarily it is located outside the hearth. Although so, it doesn’t mean there isn’t any dirt or even grease sticks on it.
If you want some proof, you can try to wipe the tile with a clean cloth, and you will find out how dirty it is.
Cleaning the tile doesn’t only mean to make it clean. It also means the more perfect remodeling result at the end of the project.
Another reason why you need to do the cleaning is that it is effortless to do. You do not even need to buy a cleaning solution because you can make it on your own.
The way to make it is by mixing a cup of warm water with one or two drops of dish detergent inside of a container. If you think the result is too foamy, you can add another cup of warm water to the mixture.
Once you are done making the cleaning solution, you only need to wipe down the tile surface by using the solution and a clean cloth. When done, rinse the tile with water.
For a better result, you can lastly wipe the tile down with cloth and water only.
In this step, you must not forget to rinse the tile properly with water as told earlier so that there will be no leftover-detergent on the tile surface. Leftover-detergent like this can affect the result of the tile painting process in the end.
2. Taping around the Tile
The next step to do is taping around the tile. Many people possibly think it unnecessary too. They think they can paint the tile worry-free as long as they do the painting carefully in the right area.
However, sometimes things could go wrong in painting job like this. Of course you don’t want a splash of paint to ruin your beautiful carpet flooring, elegant hardwood flooring, or wall color, right?
Those are the main reason why you need taping step for this remodeling project. Besides the fact that it will keep your painting job on track, this will also avoid some splash on an unwanted area to happen.
In taping, you can use any tape you want. Although so, you are recommended more to use painter’s tape in this case.
This recommendation is not merely about the fact that the tape sticks easily as borders you create to avoid splashes. It is also about the fact that painter’s tape is designed to be seep-free. It is even easy to peel and create clean edge result at the end of the project.
If being asked about where to tape the fireplace, there are several must-taped parts included.
Those include the area around the tile included the one that connects the tile with the fireplace insert and the heart tile since this area will be painted too for a perfect result.
Especially for the heart tile area, you can directly stick the tape onto the flooring, no matter whether it is carpet, hardwood, or even tile.
There is no need to worry because the tape will never damage your flooring after you peel it.
3. Painting the Tile
The last but not least step is painting the tile by using the paint you have chosen in step 1. When selecting the color in step 1, please also consider the type of finish you want the tile to have later, such as soft, matte, glossy, satin, and so on.
Other than the paint, in this step, you are recommended to use flat artist brushes too.
The reason is because this type of brush can quickly spread the color. Besides, it is also suitable to use small surface like the surface of your fireplace tile.
Another thing you need to know first in this step before you start the project is that commonly, it is impossible for you to get the look you want only by coating the tile with paint one time.
You could possibly need to do the coating twice or even three times to get the best look.
You will need more coating here since one-time layering usually only results in a sheer look, which means the original look of the tile is still visible after just one paint-brushing.
Besides, a single coat commonly has a color thickness that is uneven too from an area to another.
Another thing that is also important to keep in mind is that you are recommended to do the coating process in more than a day.
This is something inseparable from the fact that you need to make sure that a coat is entirely dry before you can apply another layer of paint on the tile surface.
As an example, you can complete three coats in approximately two days for a perfect result.
However, when the weather is not nice more time might be needed because you do the whole project indoor, which also means you can’t count on to direct sunlight but room temperature to perfectly dry each coat.
In coating the fireplace tile with paint, the most-recommended time is between morning and noon. This term has the best indoor temperature for a proper coat drying.
After you finish applying a coat of paint on the tile surface, you need to wait until the color is perfectly dry to see the result.
You need to keep doing this until you know that the coat finally creates the look you want the most. 2 or 3 layers are usually enough.
When all painting process is done the last, but not least thing you can do is peeling the tape that you have stuck in the second step of this, project.
After this you can see how your fireplace gets a new look because of the simple but effective fireplace tile project.
Painting Fireplace Tile with Chalk Paint
As told earlier, information about changing the color of fireplace tile by using chalk paint will be shared especially for this.
This information will let you know better about chalk paint, which can, of course, be taken into consideration when you think about the type of paint to color your fireplace tile.
Here, we will focus more on the advantages given by this painting type.
It is true that everyone has his preference when it comes to paint type. It is also true that every kind of paint has its advantages that make it an excellent choice to pick.
However, it is undeniable that chalk paint is, as a matter of fact, a fabulous choice and you have to consider this as a selection even if you already have your favorite paint type.
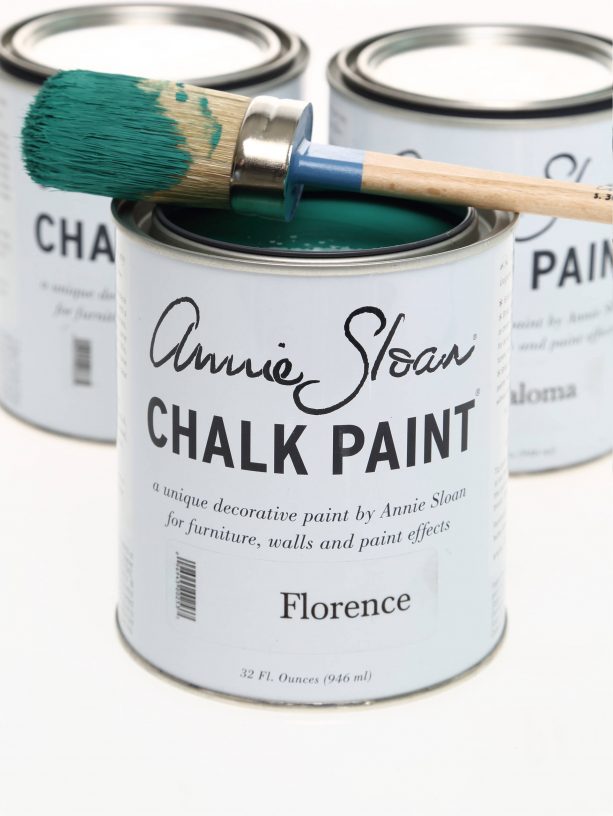
The first advantage that arrests most people’s attention from chalk paint is that it belongs to the category of environmentally friendly product. It is because this paint is water-base. It is also non-toxic and doesn’t contain any lead.
This truth, surely, makes the paint safe to use, including when you have kids or pets at home.
Chalk paint is also advantageous because it is effortless and practical to use.
There is no need to mix it with anything before using it to paint fireplace tile because it is a premixed paint. It means you can use it directly as soon as you open the can.
This fact will help you to save time in doing the project.
Not to forget that using this paint doesn’t need any priming or sanding first. Besides, the paint also dries quickly so even if you need to coat several times you can still finish the project faster.
Another advantage comes from the fact that chalk paint comes in a lot of color choices with a beautiful matte finish.
Although so, you can also create a polished plaster finish effect by using this paint if you want to. The way is by waxing it.
Since we talk about color, it is also fascinating for you to know that with chalk paint it is so possible for you to create your very own hue. The way is only by mixing two or more colors of chalk paint.
Next, chalk paint can literary be used to paint anything. Indeed, you can use it to color your fireplace tile surround too.
With a lot of benefits like this, it is reasonable that chalk paint is also recommended for the fireplace tile painting project, right?
Even some people think that this type of paint is expensive because the price is higher than the rate of regular paints, all the advantages mentioned earlier makes the price worth paying.
So, what do you think about the fireplace tile painting project?
It is not difficult to do, right?
This project doesn’t even need a lot of people to be done since this can be done by one person only.
As long as you follow the 3 simplest steps explained to you in this post, it is so sure that you will get the best final look at your fireplace tile specifically and on your whole fireplace.